How Much Does it Cost to Install RV Hookups
- Cirrus Truck Camper History and Guide - June 12, 2024
- How to Install Laminate Flooring in an RV With Slide Outs - June 12, 2024
- Outdoorsy vs RVShare: Which is Best? - June 12, 2024
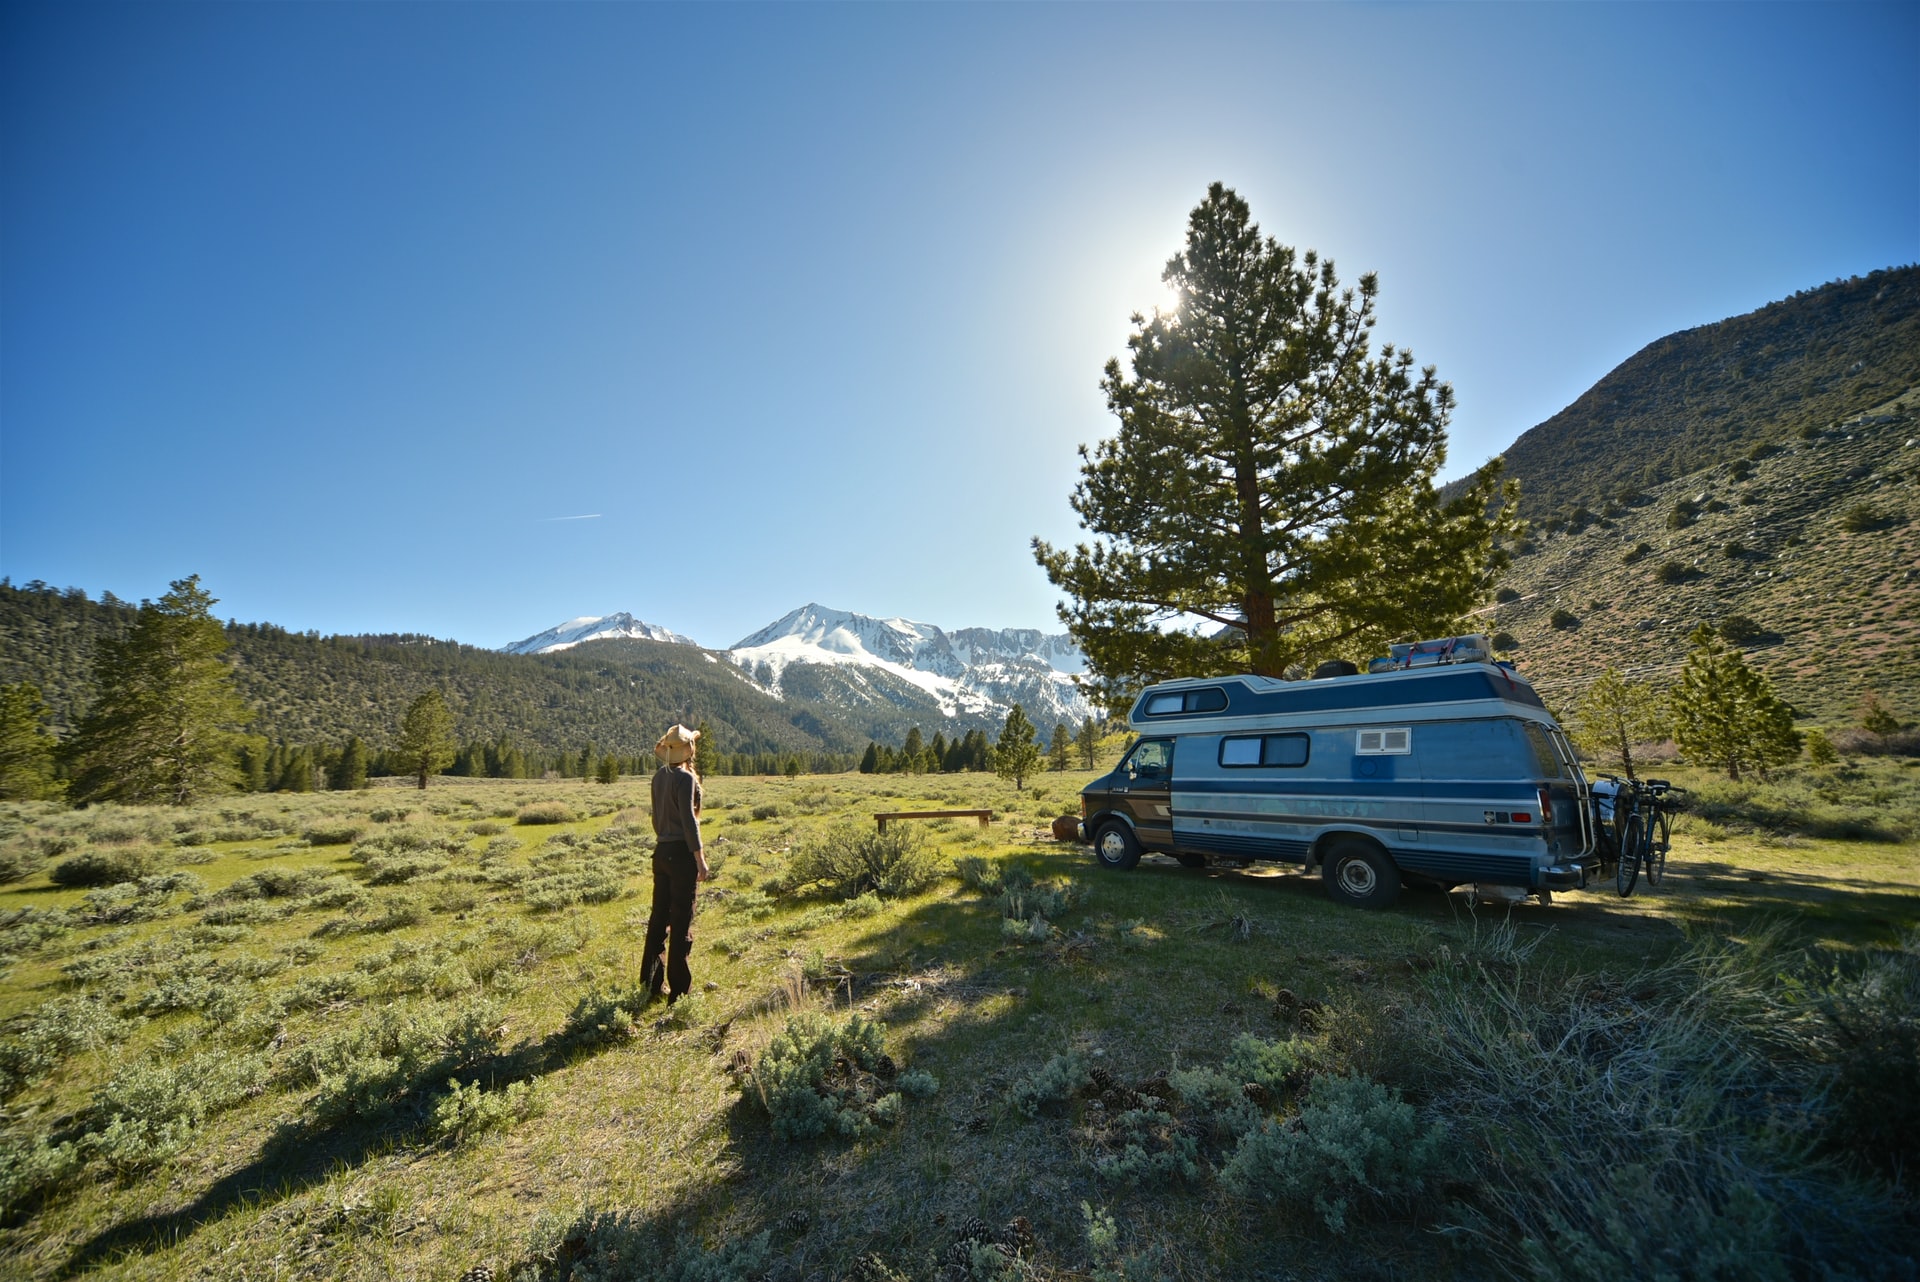
The primary reason people own an RV is to travel. Part of the appeal is being able to travel locally and around the country. They can pick up and go whenever they want to without having to worry about hotel reservations. It’s a home away from home.
But that doesn’t mean there aren’t reasons why you may want to use your RV on your own land. Maybe you want to set it up as an Airbnb and rent it out, or you have friends coming and you want them to have their own space. You can even use your trailer as a home office.
Whatever the reason, it will require that you install your own RV hookups at home. You’ll need a budget for the project and good instructions on how to do it. The investment isn’t small, but it’s reasonable for the use you’ll get out of it if you decide you need it.
This article will give you a better idea of what you’ll need and how much it will cost, so you can decide if it’s something worth looking into.
Why You Need RV Hookups
Many people who travel full-time don’t have a home. However, they’ll invest in a piece of land and park on it until they can afford to build a house. RV hookups are a lot cheaper to install than building a house, so it’s a good short-term solution with many long-term benefits.
With hookups, even if you have a house, you have a place close by to hook your camper up and make sure it’s in proper working order before you hit the road. You can slide everything out, clean it up, and get the fridge up and running so it will be cold when you need it.
You can also use it as a guest house so your out-of-town friends and family will have a self-contained place to stay with plenty of privacy. With hookups, they’ll have electricity, water, and sewer, so they can live there just like they would in a house and stay comfortable.
It also makes a great home office for those who work from home regularly or freelancers who work remotely all the time. You can hide out in the camper, set it up for work, and have everything you need throughout the day.
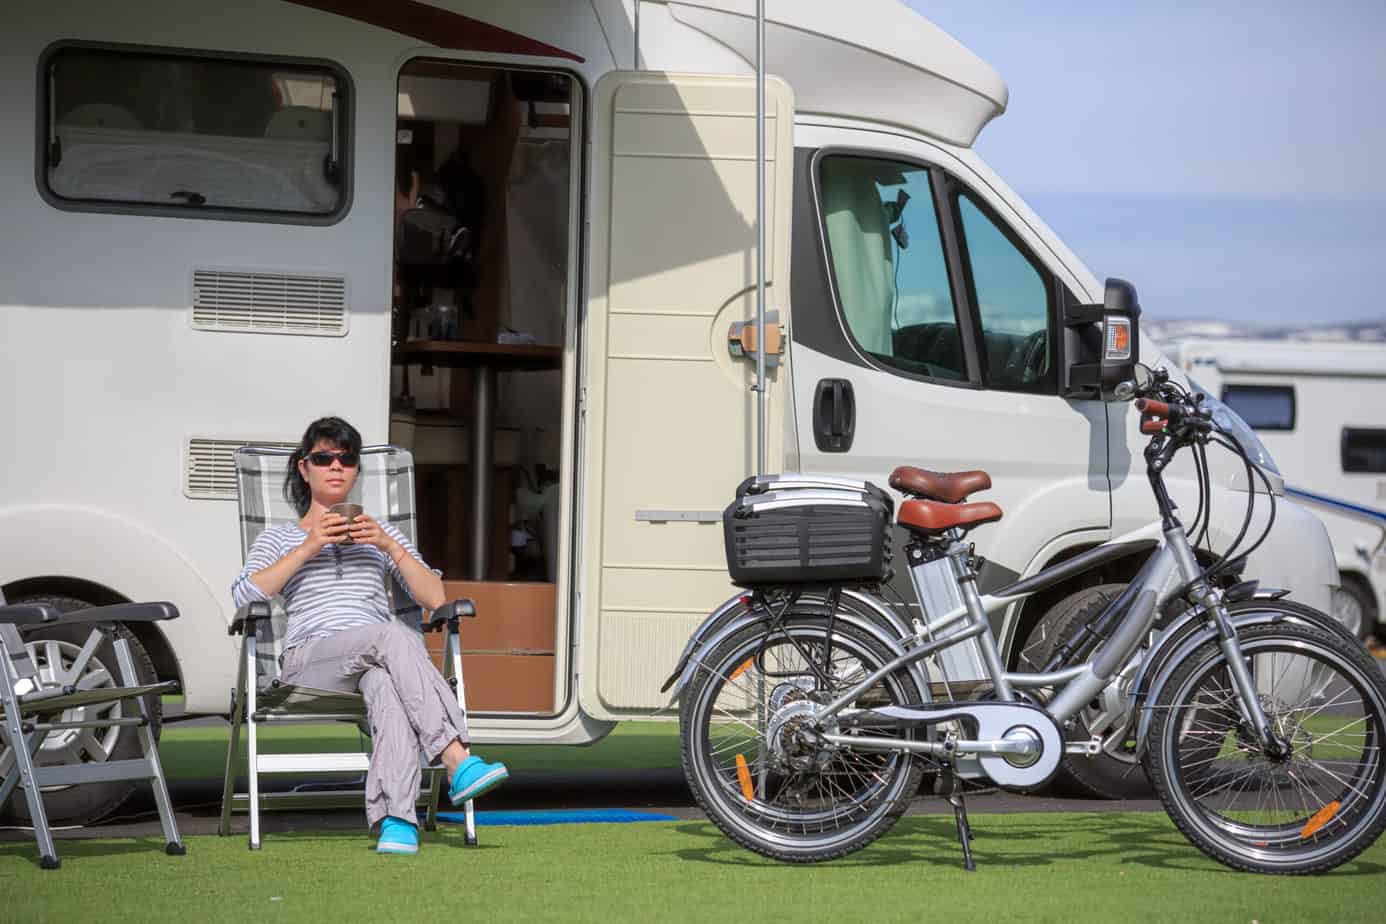
In every situation, you’ll need RV hookups to ensure the trailer is comfortable for day-to-day living and maintenance. While some campsites offer partial hookups, you’ll likely want the luxury of full hookups so you can run everything from the TV to the air conditioning.
RV Hookups Cost
You’re likely looking at a few hundred dollars to install RV hookups, and that’s if you buy all of the supplies and do it yourself. It will be a couple thousand if you hire professionals to do it for you.
It’s important to plan and choose the correct products so your hookups will serve you well for a long time to come. Spending the money on quality products and installing them right will give you reliable hookups that won’t require much maintenance.
The project will also require you to dig, so call the utility companies first and have them mark where the electricity, water, and gas lines are first. This will give you a better idea of where you can safely dig so you can plan your hookups accordingly.
Breakdown of expenses
While the cost will vary quite a bit, this breakdown will give you a better idea of how much each element costs, so you can plan your installation in stages and do things as you can afford them.
You can also determine how much work you are willing to do by yourself rather than hiring someone, which can save you a bit of money here and there as well.
- Water hookups – $50-100 DIY, $700 professional
- Electric hookups – $100 DIY, $1200 professional
- Sewer hookups – Nearly free DIY, $2000-3000 professional
- Parking pad – $250-500 for gravel, $1000-2000 for concrete
Everything is cheaper if you do it yourself, and as long as you’re comfortable doing these things, you can knock the entire project out for less than $500, especially if you’re willing to park on gravel, concrete, or grass you already have rather than installing a dedicated pad.
You can also save money here and thereby doing what you can yourself and hiring a professional for the rest. However, if you’re not comfortable doing any of it yourself, it could cost up to $5000 for everything you need.
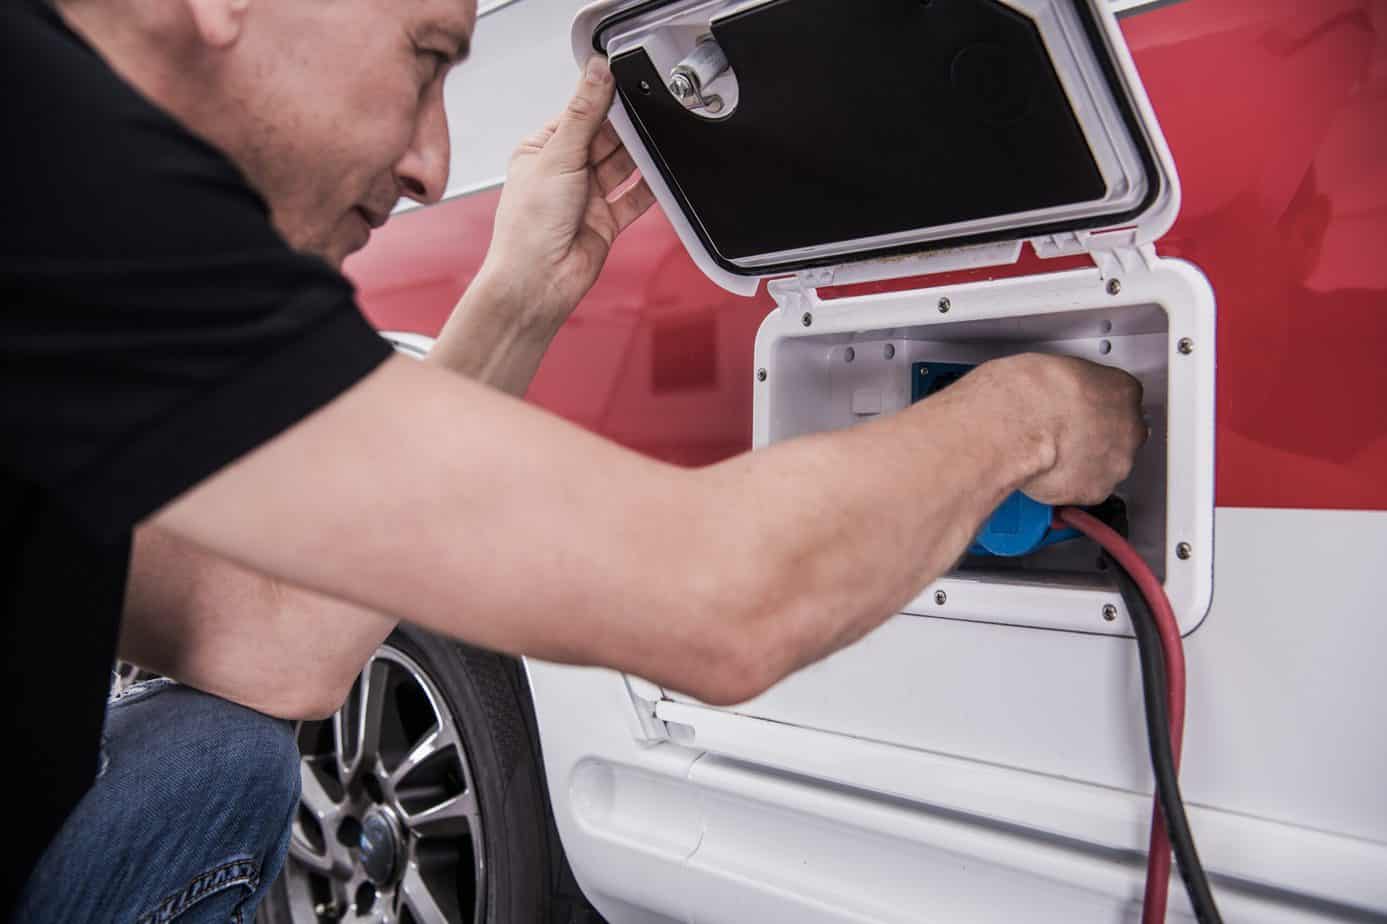
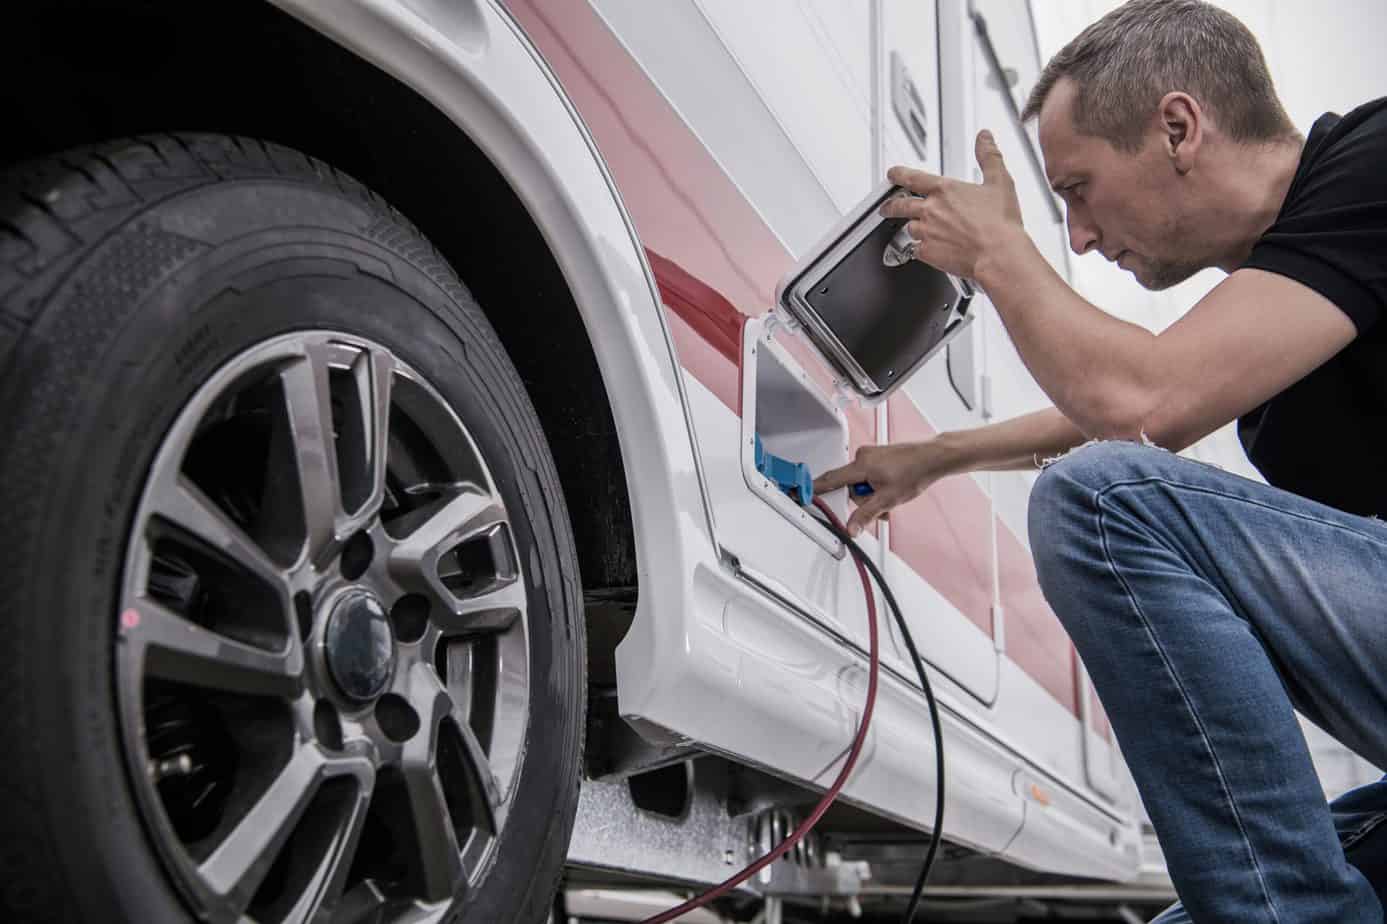
Electrical hookups
Where you install your electrical outlet will have an impact on the cost. If you want it to be installed away from the house in a space dedicated to the RV, you’ll spend more money burying the line and installing a pole. However, you can save money by simply mounting the outlet directly onto the outside of the house or garage.
Depending on whether your RV requires 30 or 50 amps, you’ll have to purchase the right kind of wire and run it from the circuit breaker box to the outlet. Measure how long it needs to be and count on it costing $2-4 per foot.
If you need to mount the outlet on a post, you should use an 8-foot 4×4 piece of pressure-treated wood. A lot of people use a larger 6×6 post, and you can also choose to use a longer 10 or 12-foot pole to mount a light on top. For most soil conditions, mounting this post in concrete is the most sturdy option. This will cost anywhere from $15-50.
If you’re installing it yourself, you’ll only pay for supplies. However, dealing with electricity can be dangerous for those who aren’t licensed to do so. While you can save nearly $500 by doing it yourself, don’t take any chances if you’re not comfortable with it.
Also, consider whether you want to rent a trencher or dig a trench yourself to bury the wire. You can save yourself up to $300 on a half-day rental if you have a shovel, but you’ll have to use lots of elbow grease.
What type of outlet your RV requires will also impact the cost. A 30 amp outlet is more cost-effective. It has 3 prongs, a ground wire, a neutral wire, and a 120-volt hot wire. This is what smaller RVs use because they have a lower load requirement.
A 50 amp outlet is more expensive. It’s bigger because it has 4 prongs. It has a ground wire, a neutral wire, and two 120 volt hot wires. It’s what large RVs use, especially if they have more than one air conditioner.
Depending on which amperage you need and the brand you choose to buy, the outlet will cost $60-80. You’ll also need a circuit breaker in your breaker box to hook the outlet too. Depending on the brand, you’ll spend $10-40.
The set cost of supplies won’t change much if you know exactly what you need. The only variable that will affect the cost a lot is the rate of the electrician you hire. It can be anywhere from $50-200 based on the supply and demand in your area.
In some areas, you’ll also have to obtain a permit to install additional electrical hookups. Check your city codes to make sure you’re doing this properly. It may be free or it could cost up to $200 just to pull a permit and get the approval you need.
Water hookups
This could be a nearly free project if you already have an outdoor spigot you don’t mind dedicating to your RV. All you need is a water hose long enough to reach from the spigot to wherever you park the RV. Just make sure your water hose is safe for drinking and add a filter to it if you would like.
However, if you live in a climate where you have to worry about freezing, you may need to install a dedicated water connection closer to the RV. A licensed plumber can trench, lay PVC, and install a faucet in a heat sink that will keep it from freezing.
They will charge you anywhere from $1.50-5 per foot that needs to be trenched, plus the cost of a faucet, which can be anywhere from $150-300. Then all you’ll need is a heated hose, heat tape, or another type of insulation to keep your line from freezing above ground.
If you want to trench the ground yourself, you can use a shovel for free, or you can count on paying up to $300 for a half-day rental of a trencher. PVC will run you $20-40 for 10 feet, so measure how many feet you need from the water line to where you want your hookups to go.
Even if you do it all yourself, you’ll pay at least $250 for supplies, but you can save a lot of money by not having to hire a plumber.
Sewer hookups
Gray water is safe to let run out on the ground, but you’ll need a place for your wastewater to go. If you already have a wastewater lagoon on your property, the best thing to do is a trench and lay PVC to the lagoon.
PVC will cost $20-40 for 10 feet, so how much you spend will depend on how far you have to go. Once again, you’ll pay a plumber to do all of these things for you or you’ll pay to rent a trencher if you want to do it yourself.
If you don’t already have a system in place to dispose of your wastewater, you’ll have to install something. You have a couple of options. You can have a licensed professional come out and dig a lagoon or you can install an RV-specific septic tank.
A lagoon is the most cost-effective option. It will cost about $500 to have someone dig it for you, and you’ll likely never have to maintain it. Algae and animals work to help your waste decompose, a lot of it evaporates, and the rest is absorbed back into the ground.
You can dig a hole and install a septic tank yourself, but then you need equipment to pump it out regularly when it gets full, or you have to hire someone to come do it for you. Some companies will come to pump out your septic regularly, but you’ll need to check your area for an accurate cost.
The maintenance on a septic system is much more involved, but it takes up less space and it’s less unsightly than a lagoon, so it’s up to you which you’d rather have.
Parking pad
If you want to park your RV on grass, gravel, or concrete that you already have, this element of your installation won’t cost you anything. However, if you need to have a pad poured, it will cost you at least a delivery fee if not an hourly fee.
If you opt for gravel, you have a few options. You can pay for the delivery of enough gravel to hold your RV, and it will only cost you $200. If you’d rather have something a bit harder, but not as expensive as concrete, you can pay a little extra for a lime coating.
The truck will dump the lime dust on top of the gravel and all you have to do is water it with a sprinkler. It will harden into something nearly as good as concrete and give you a hard, flat surface on which you can park.
If you’d rather have concrete, pouring a pad will cost $2000-5000 depending on the size. Count on it costing about $9 per square foot. If you can do it yourself, you’ll only pay for supplies, but this isn’t something that’s in everyone’s wheelhouse.
You may also choose to lay concrete or brick pavers, but first, consider the weight of your RV and how much weight these pavers are designed to hold. You risk cracking them and having to replace them regularly if they’re not installed correctly or won’t hold the weight.
How to Install RV Hookups
If you want to save some money doing it yourself, it’s pretty straightforward. If you’re handy and you have some good tools at your disposal, you should be able to pull it off. Here’s how.
Make a parking pad
The first step is to figure out where you want the hookups and then pour a pad. You want a surface that’s level enough to make leveling the RV easily, even if the ground is wet. Gravel and concrete work well, but the grass is fine too, as long as you’re willing to deal with the ground when it’s wet.
Your pad needs to be 6-8 feet wide and long enough for your RV to fit. You may want a bit extra so that when you park, you’ll have plenty of room to step out onto the hard ground.
Check to make sure there are no low-hanging branches or power lines that could interfere with parking there. You’ll also want to consider how far it is from the house and how that will affect your other hookups.
Install a post
Once you know where your pad will be, you can dig a hole to install a post. It should be about 30 inches deep and 8 inches wide to accommodate a 4×4 post. You can pour concrete or fill the hole in with dirt, but concrete will give you more stability.
This pole is intended to hold your electrical hookups, and possibly even water, so it needs to be placed where your water hose and electrical cable will reach the hookups on the camper.
Install water
To install water, you’ll need to dig a trench below the frost line to prevent your water pipes from freezing. The trench needs to run from your water source to the post you installed. Lay the CPVC pipe in the trench, connect it to the water supply, and use PVC glue to attach any connectors.
Wrap any part of the waterline that’s exposed with heat tape and then secure the waterline to the post with pipe clamps. You can cover the trench over with dirt or fill it with cement. Install a faucet to your water line and you have water hookups!
Keep in mind that before you dig, you need to contact your utilities to make sure they come out to mark where you shouldn’t dig. It will save you money if you avoid hitting any of your existing lines, and could even save your life.
Install electricity
The next step is to install your electrical hookups. If you’ve worked with electricity before, you can likely do it yourself, but this job isn’t for everyone. If you don’t already know what you’re doing, call an electrician.
If you feel comfortable doing it yourself, you’ll first need to trench from your electricity source to the post.
Next, turn off electricity to your breaker box and install the correct size breaker in a vacant space. Then mount the outlet on your post. Connect the appropriate gauge of wire from the breaker to the outlet and bury it in the trench.
Install sewer
This step could be one of the easiest. If you are already connected to a public sewer system, you already have a cleanout in your yard and won’t need to install anything. Take the cap off of the cleanout and hook your sewer hoses up to that. Just check to make sure it’s legal first.
If you’re far away from the cleanout, you may need to look into a macerator pump to help move sewage through.
This process is also easy if you already have a septic tank. Your septic could have a cleanout on it as well, so all you have to do is hook up to that. If your septic doesn’t have a cleanout, you can install a 40-inch pipe at the top of your septic tank so you can dump it into it.
If you don’t have either of these things, you can have someone dig a lagoon. Most areas require you to be licensed to dig this out, and you’ll want a professional for it to make sure it gets done right. This will prevent you from having your sewage spill over into your yard.
The last option is to install an RV septic tank. This can be expensive and difficult, but for some people, it’s the only option. You can bury it yourself if you have the equipment, but you may have to hire someone. You’ll also have to have it pumped out when it gets full.
DIY or Professional
You can do most of this project yourself if you feel comfortable with it. It depends on how you feel about doing basic electrical work, digging, trenching, and laying pipes and wires. If you enjoy a good project, then this will be fun for you and you’ll save some money.
However, if there’s any part of this task that makes you feel uncomfortable, don’t do it yourself. It’s much easier and safer to spend the money hiring a professional who will do it right and could save you a lot of money in maintenance later.
FAQ
If you are thinking about installing your own RV hookups, it may feel exciting or it could be a daunting task. It’s certainly possible, but not everyone will be up for the challenge. These frequently asked questions should help you learn more.
Question: How much does it cost to build an RV pad?
Answer: If you’re estimating $6-9 per square foot for concrete, a 16×40 pad would cost $4000-6000. Of course, not everyone will need a pad that large, and concrete in your area will vary in price. The size of your pad is the biggest factor contributing to price.
Question: Can I hook up my RV to my septic tank?
Answer: Yes, you can hook up your RV to your septic tank if you have one, but you have to do it correctly. If your septic already has a cleanout on the top, you can take the cap off and hook up. If it doesn’t, you have to make sure your septic is fitted to accept a cleanout. If it is, you can install a 4-inch pipe on the top yourself and use it.
Question: How can I live in my camper on my own land?
Answer: It’s legal to live in an RV, but some areas do restrict where you can park an RV. Check your local ordinances and zoning to make sure your land falls within an area where it’s legal to do so. It’s typically easier to get away with it outside of city limits and in rural areas.
Question: Can you plug an RV into a house outlet?
Answer: While it’s possible to plug an RV into your house, it’s only recommended for a short period of time. You’ll need an adapter to convert your electrical cable to a 110 outlet. Because most RVs require either 30 or 50 amps, you won’t be able to power as many things as you would otherwise.
Final Thoughts
Installing RV hookups on your own land is an exciting idea and allows you more flexibility when it comes to your living arrangements. You’ll get used out of your RV, even when you’re not traveling, which helps make the expense worth it.
While it can be expensive to have these hookups installed professionally, it’s often the safest option. If you’re a true DIYer, you can save a lot of money doing it yourself and still enjoy reliable hookups close to home.